Installing Cellular PVC Trim Board: 7 Pro Tips for Doing It Right

Cellular PVC trim board is a great construction material with many advantages. But while it can be cut, milled and routed like wood siding, it doesn’t always behave like its wood counterpart. Here are some tips and tricks to install PVC trim right the first time.
In many ways, working with cellular PVC trim is not all that different from working with wood trim. However, there are some nuances that you should be aware of. But before we get into tips for getting it right, let’s cover some of the basics.
What is Cellular PVC Trim?
Cellular PVC is a synthetic building material made from polyvinyl chloride (PVC) and a foaming agent, normally used as a wood replacement for a variety of trim and specialty millwork products. PVC trim is usually sold in sizes and profiles similar to wood trim – think standard sized bead board, skirt board, quarter round, brick molding and tongue and groove.
Note, cellular PVC is different from traditional PVC used in plumbing. Cellular PVC gets its ‘cellular’ moniker from the little bubbles you will see inside when you cut into it. These bubbles make the material softer and more flexible than its PVC pipe counterparts.
Popular cellular PVC trim brands include Azek, CertainTeed, Kleer, Versatex, Koma, Wolf Trim, and Palram. If you’re working with any of these brands, the following tips will help you get the project done right the first time.
What are the Advantages of Cellular PVC Trim?
Cellular PVC is seeing more and more use as a building material thanks to three main advantages it has over wood.
- Environmental Resistance: Cellular PVC is highly resistant to many environmental conditions. It resists moisture, making it extremely popular in coastal areas where rain and salt spray is common. PVC is also resistant to pests like insects and termites that routinely damage wood trim.
- Versatility: No matter your trim project, cellular PVC can be a viable material. It’s super versatile and can be used for interior and exterior projects. With the right techniques it can be cut, shaped, laminated, milled, routed and painted to suit any aesthetic.
- Low Maintenance: Cellular PVC trim does not require painting or staining to seal it – once installed it’s good to go. It also doesn’t require refinishing to maintain its appearance. Should it get dingy or dirty, a mild soap and warm water is typically all that’s needed to clean it up.
7 Tips for Working with Cellular PVC Trim
Now that we have the background, let’s look at what you need to know to install cellular PVC trim right the first time.

Tip #1: Use the Right Adhesive
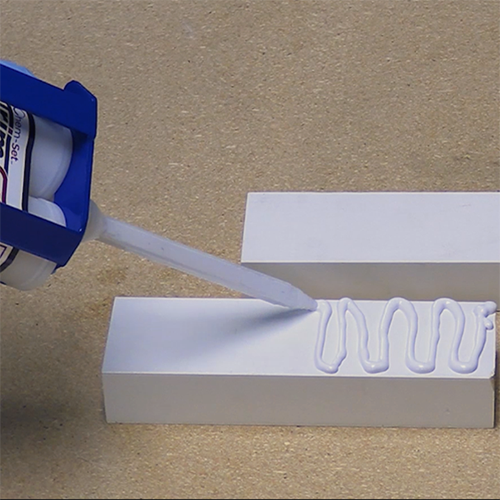
Your general construction adhesive won’t be quite right for Cellular PVC. Most general construction adhesives only create a physical bond between PVC joints.
The good news is there are specialty cellular PVC trim adhesives on the market that create a chemical bond between cellular PVC boards. This chemical bond essentially means your boards are now “welded” together instead of “stuck” together. This makes your joints and corners much tighter and more structurally resistant to shearing and tearing forces.
PVC trim adhesives can also be used to fill nail holes, gaps, seams and joints for a smoother look on exterior trim and column wrapping. Plus, they work well for sealer and filler for door and window assemblies. You can use PVC adhesives to laminate trimboard to create larger and more complex profiles and architectural elements such as PVC gables, PVC pediments, PVC brackets and more.
Here are some features to look out for when shopping for a PVC trim adhesive:
- Paintable
- Working time/Cure time
- Strength
- Aesthetics
- Durability
- Machinable
- Packaging options
The best adhesive for pvc trim is usually an MMA adhesive or structural acrylic adhesive.
You can also find faster-set PVC trim adhesives to speed up your working times should you need it.
The point is, when working with cellular PVC trim, opt for an adhesive made specifically for the material instead of a general construction adhesive or wood glue.
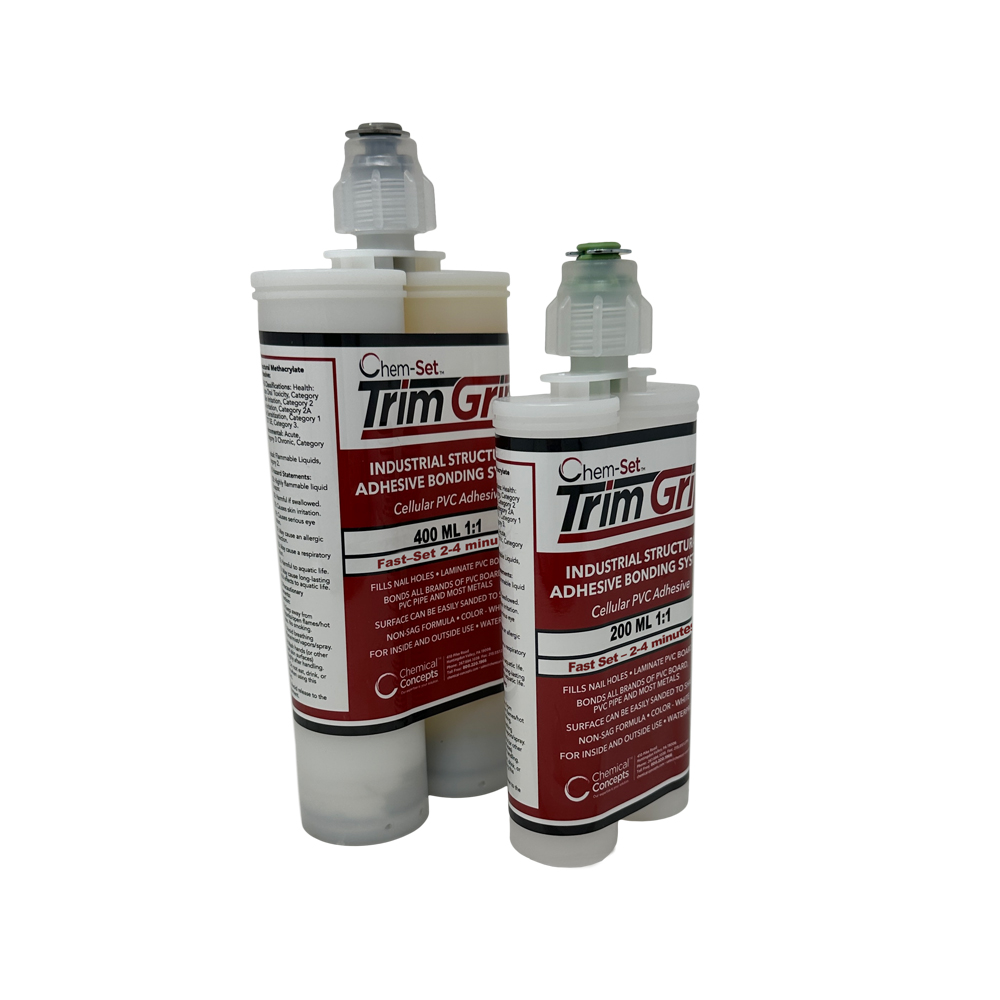
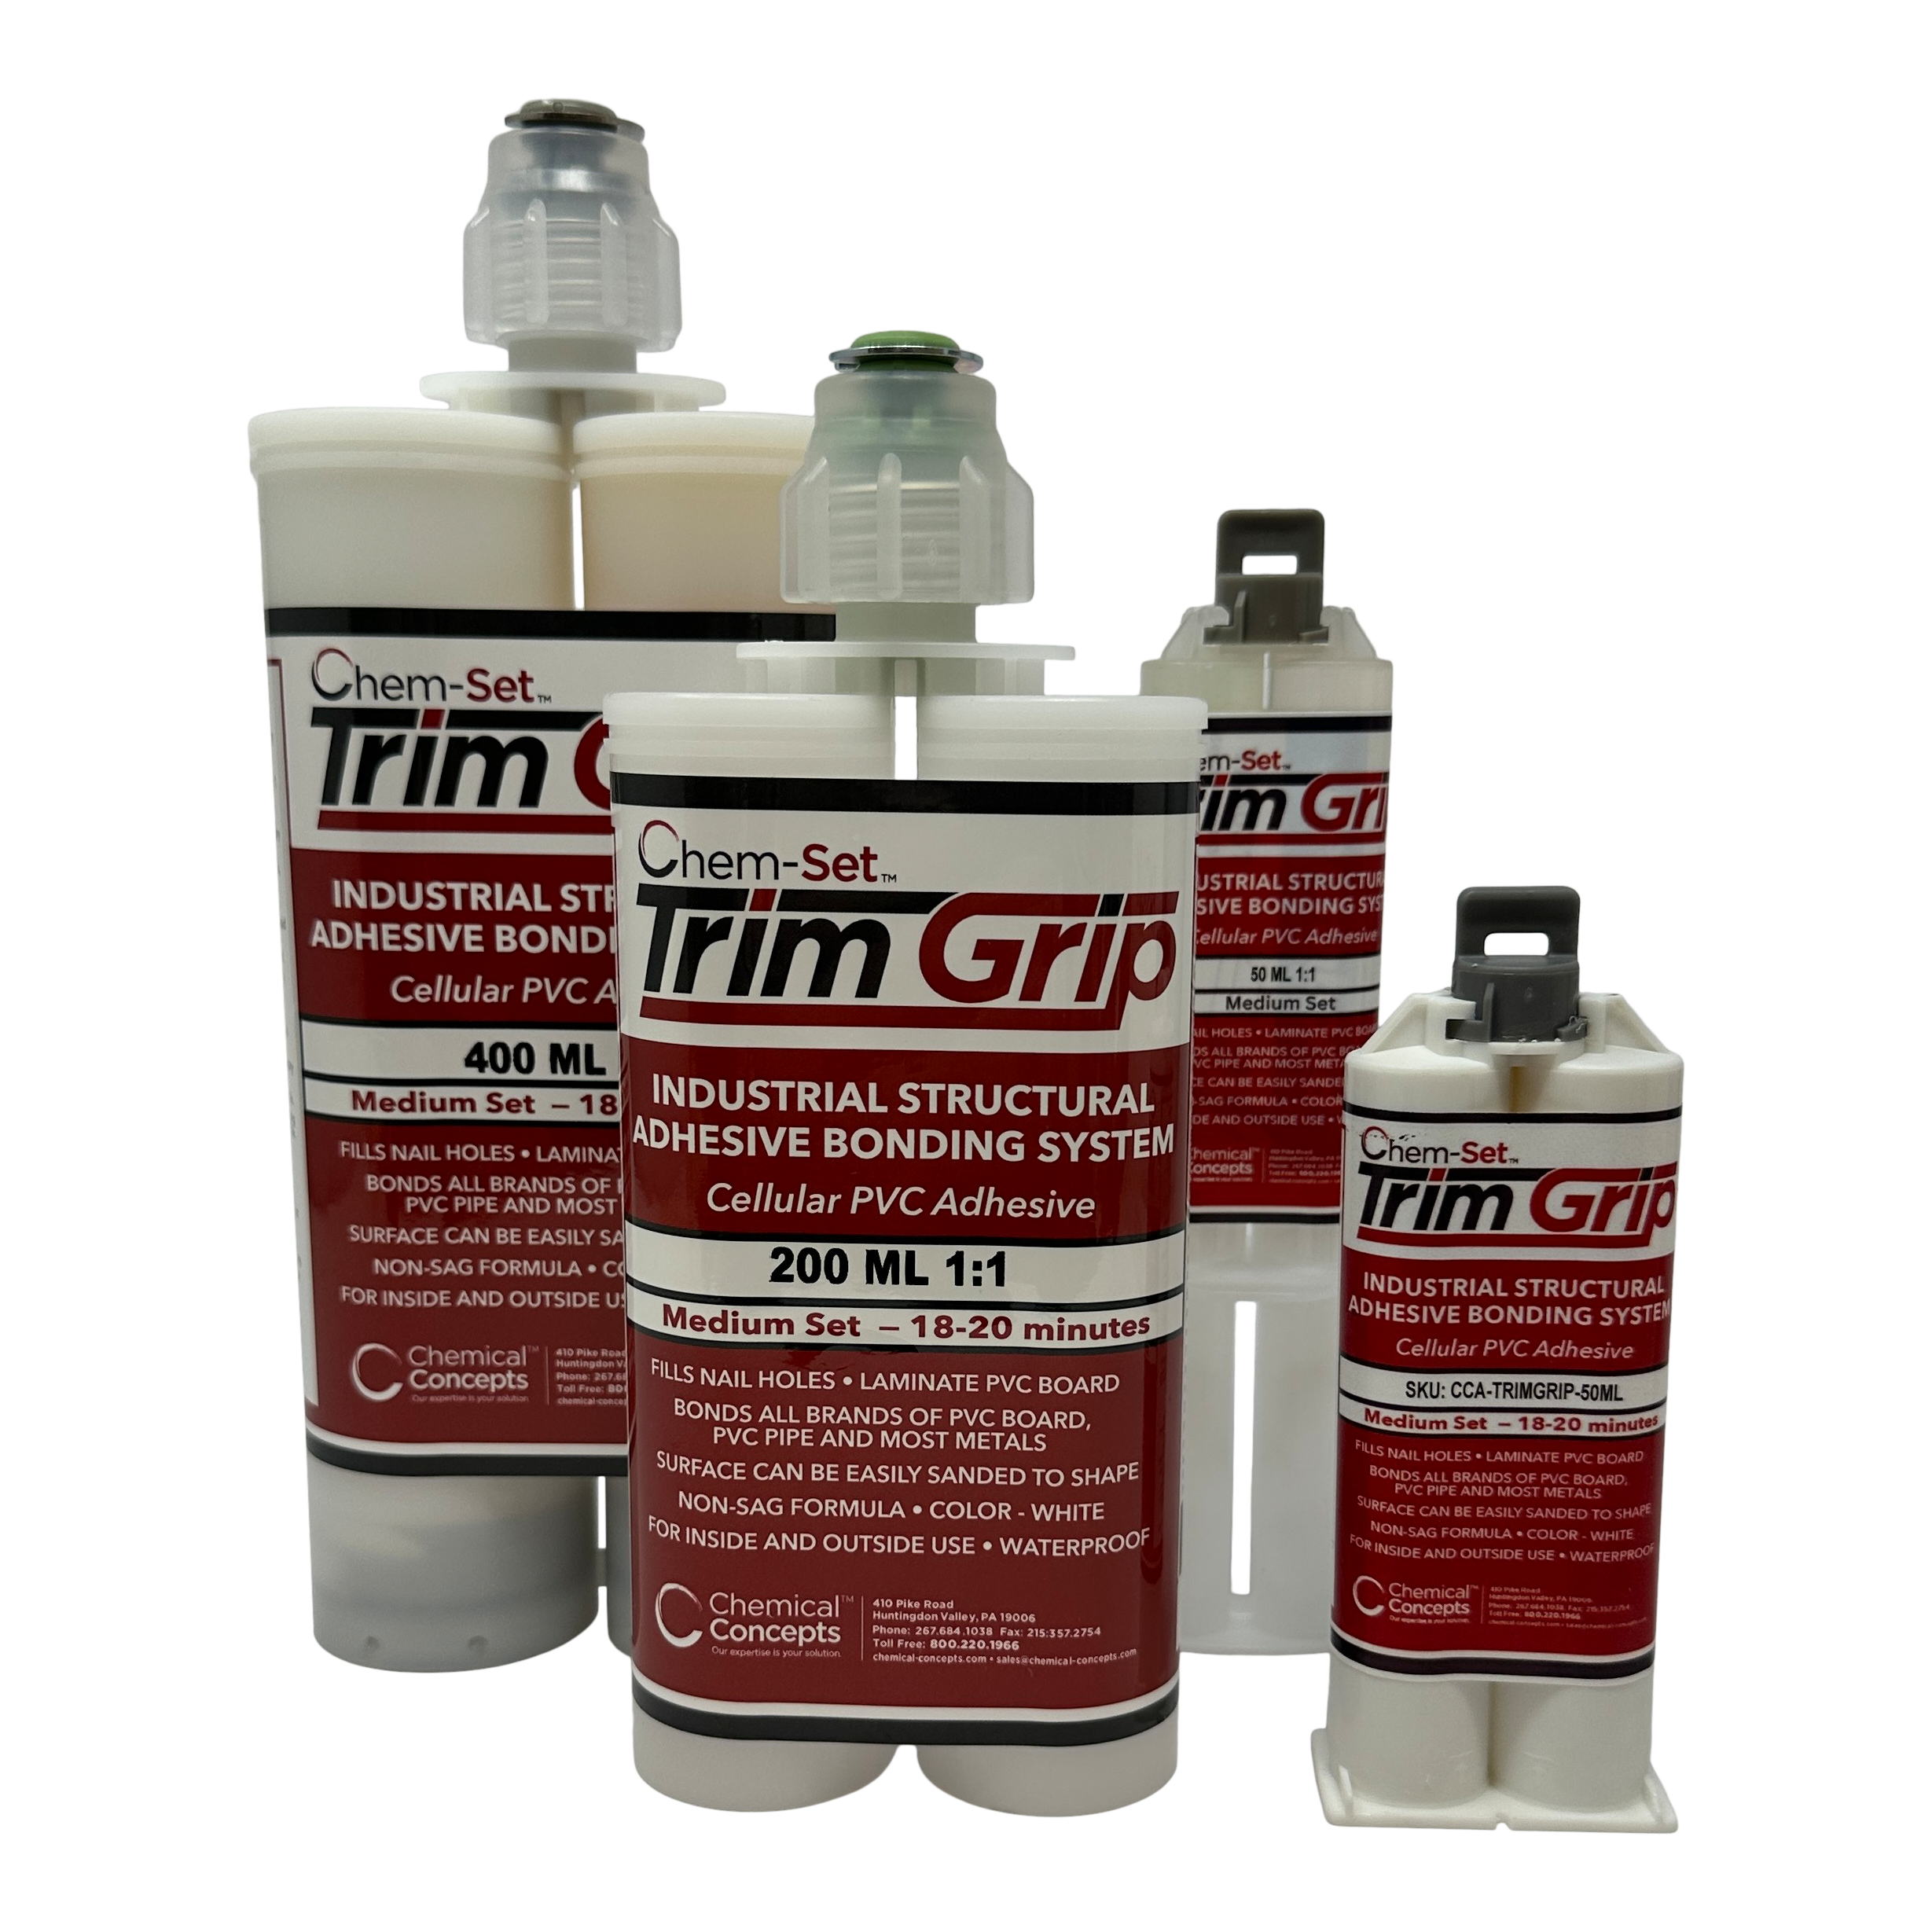
CPVC adhesives come in different packaging options. You can choose a small package for one-off jobs like a 25ml or 50ml trim adhesive. Some products come in a 25ml syringe so you don’t need a special dispenser. If using a larger size make sure you have the right gun and mixing tips.
For larger projects or repeated use, you can opt for a 200ml or 400ml cartridge.
You can also use a sealant or hybrid adhesive designed for PVC millwork. These products are good for filling nail holes and caulking joints where structural strength is not needed.
Tip #2: Know When to Work It Like Wood
In general, many of the woodworking and carpentry techniques used for wood trim projects will work for PVC trim board.
Cellular PVC can be cut, joined and handled similarly to wood trim. Think of it this way – if you ever ask how to do something with PVC trim, the answer is usually the same way you would do it with wood trim. Of course PVC is already impervious to the elements so there is no need for finishes like varnish or polyurethane clear coats.
In a lot of cases PVC trim can save time over wood trim. Cellular PVC trim has clean finished edges that require little prep to install. Plus, many manufacturers sell pre-formed common trim shapes. That means less shaping, sanding and cutting, so most jobs can be done by less skilled labor.
Tip #3: Know When NOT to Work It Like Wood
While many common woodworking techniques work for PVC trim, there are a few things that make it slightly different.
When cutting PVC, make sure you’re using tools with carbide tips. Steel blades and bits will dull quickly working with PVC. Also, the more teeth in your saw the better. Sawn edges will never look as good as the factory-finished edges, so it’s important to make sure any sawn PVC edge is concealed when installed.
Also, make sure you’re using the right method to fasten the trim to the home or building. PVC expands and contracts more than wood, so if you’re using nails or screws make sure they dig down to the framing, not just the sheathing. Supplement any traditional fasteners with adhesive to spread the bonding strength across the board. This prevents weak points when the board inevitably expands and contracts in seasonal temperatures.
Also, when storing cellular PVC, make sure it’s flat and level to the ground because it can warp in warmer temperatures.

Tip #4: Use the Flexibility to Your Advantage
We mentioned earlier that cellular PVC is flexible, but just how flexible is it?
Well, if you’re able to heat the board up to around 300 degrees F, you can shape it pretty much any way you want as long as you have the form and clamps. This is called thermoforming.
If you want to add curved accents to your trim project, all you have to do is build out a curved form out of plywood. Then heat your PVC trim board – you can use a specialty heat blanket for this or build your own with a culvert and torpedo heater. Once the board is up to temperature it will be super pliable.
Carefully bend the trim board to your plywood form and clamp it in place while it cools. Once cooled, you’ll have a perfectly curved piece of trim to cap those curved windows.
Make sure to follow the specific manufacturer directions for thermoforming from which brand of CPVC you are working with.
Tip #5: Leave Room for Expansion
Cellular PVC is more flexible than wood and will expand and contract more with temperature changes than wood.
Here are a few rules for installing in different temperatures:
- Above 80 degrees F – fit joints tightly
- Between 60 – 80 degrees F – leave a 1/16th inch gap every 18 feet of length.
- Below 60 degrees F – leave a 1/8th inch gap every 18 feet of length
Note that some brands of cellular PVC may expand more than others, so always check with the manufacturer’s recommendations. After you’ve installed, fill those gaps with PVC trim adhesive.
Tip #6: Preassemble Door & Window Trim
For common trim work like doors and windows, pre-assembling the full trim surround before installation generally works best and results in perfectly tight joints.
Miter your edges like you would with wood trim and then join them using specialty PVC trim adhesive along with pocket screws. Measure carefully and dry fit your cuts before applying the adhesive. Lastly, like we said before, leave a 1/8th inch expansion gap between the trim and window for caulking.
Tip #7: Paint it Right
Painting PVC trim isn’t necessary, but it can be a way to make your projects look even better. PVC trim requires little prep before you paint. All you need to do is clean with a mild detergent and let dry before painting.
And as mentioned above, make sure you use the right products. Vinyl safe paints are the way to go. Plus, if you’re going to be painting over filled seams and nail holes, you’ll want to opt for a PVC trim adhesive that’s paintable.
Conclusion
Cellular PVC is an excellent choice for most trim projects. When working with the right materials and adhesives, you can create seamless, beautiful trim work that will stand up to harsh environmental stress.

Have questions about a PVC trim project? Get in touch with Chemical Concepts. Our experts can give you the advice and product suggestions you need to get it done right.
-
 Chem-Set TrimGrip Flex, PVC Trim Adhesive/Sealant – 10.2 oz Cartridge – WhiteOur Price Starting at $9.41
 -
 Chem-Set TrimGrip FS (Fast-Set) Cellular PVC Trim AdhesiveOur Price Starting at $14.00
 -
 Chem-Set TrimGrip PVC Trim AdhesiveOur Price Starting at $14.00


